This article is written for: Zello Work Zello Friends & Family.
14. Save and close the file.
15. For all instances of the Zello Work application, repeat steps 11-13.
Note: you can accomplish the same results by changing the “portable=” in the ptt.ini file instead. Simply navigate into each instance and change the portable variable to “portable =1”. Do not change both the “portable” and “instance” variables.
16. Open and your new instances of ZelloWork, login, and verify that the name of the program follows this naming convention, containing the string that you added in step 13 as an instance name or portable value:
Username - Network Name - Zello Work [Instance Name]
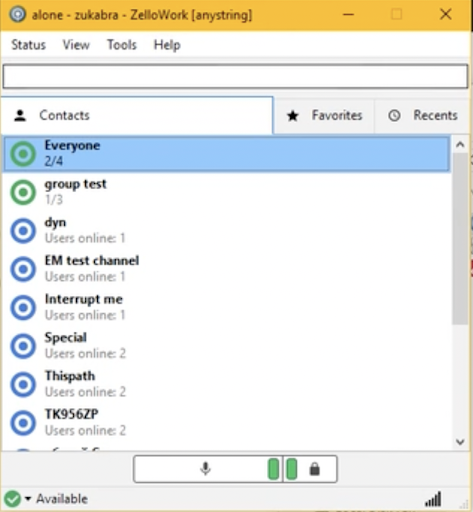
Your instances of Zello Work should now work independently of one another. This means that you can change the app settings for each instance without interfering with the other instances.
Optional Steps: Configuring your instances to run upon computer reboot
1. Open a new .txt file from your word processor of choice. This will be used to create a batch file.
2. Insert one line for each of your instances with the following convention:
-
- START C:\ZelloWork\ptt.exe
- START C:\Zello Work 2\ptt.exe
3. Save the file by going to File > Save As and navigating to one of your Zello Work instances in the Local Disk (C:) folder. Name the file ‘startzw.cmd’
4. Copy and paste the file into your computer’s startup folder. To pull up the startup folder, press the WinKey, type shell:startup, and hit Enter.
Addendum: Installing the Legacy PC App
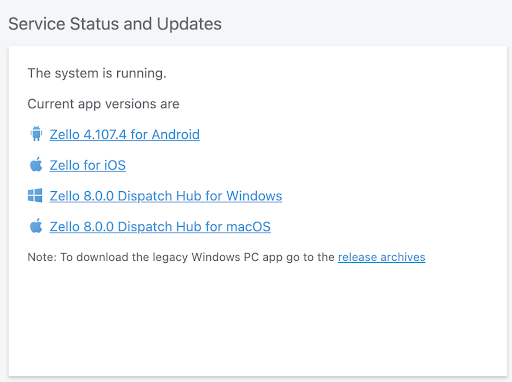
1. Go to the homepage of the management console. From the home screen, click “release archives” under Service Status and Updates:
2. Scroll down on this page to the “Legacy PC App” and download the current release version, as denoted by the green box which says “current.”
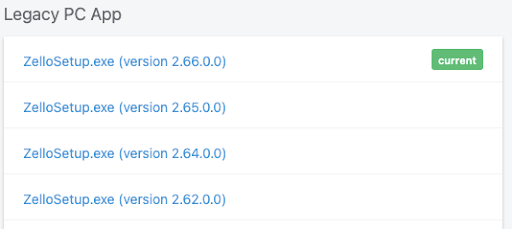
3. Once downloaded, run the .exe file in order to install the Zello Work application.